

TeleToyland Sandbox How It Works: Step 2
Step 8: Optional Cable Carrier & Servo Mounting
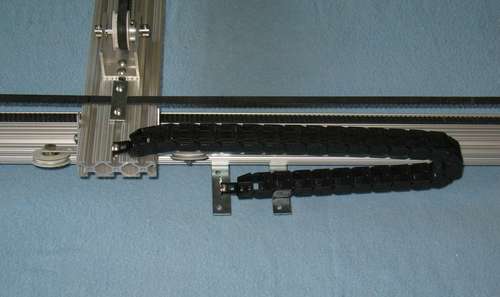
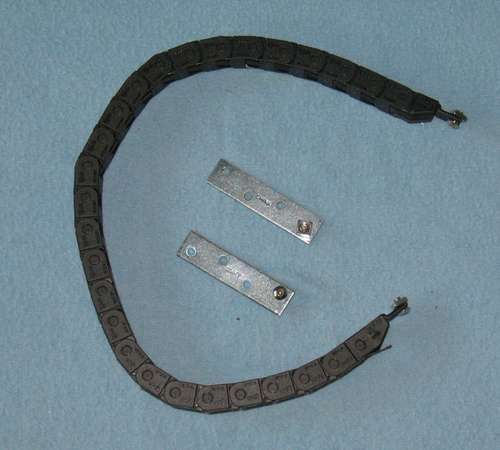
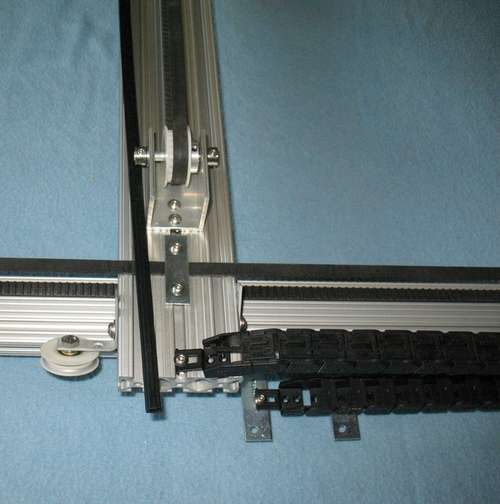
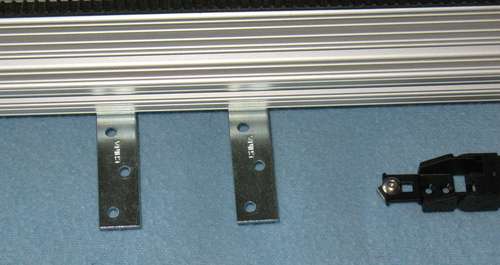
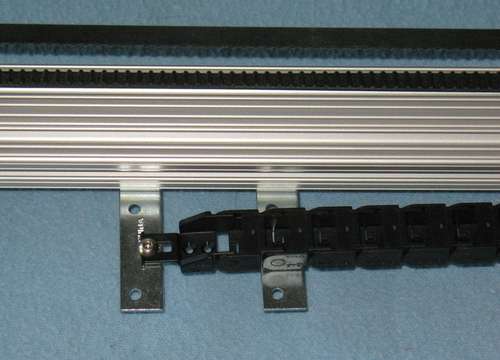
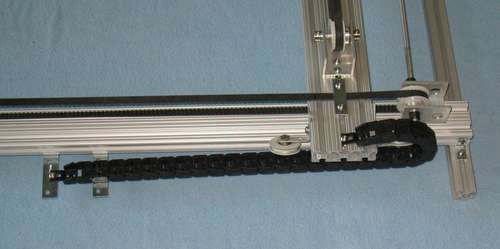
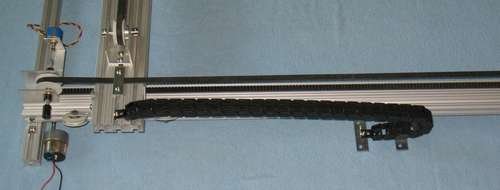
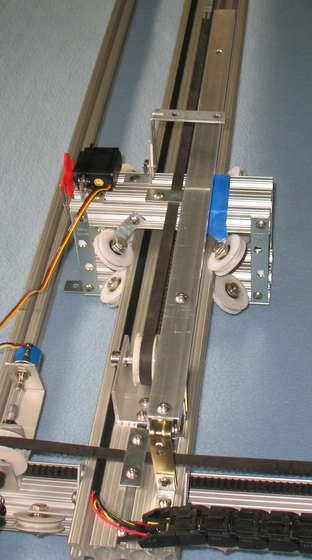
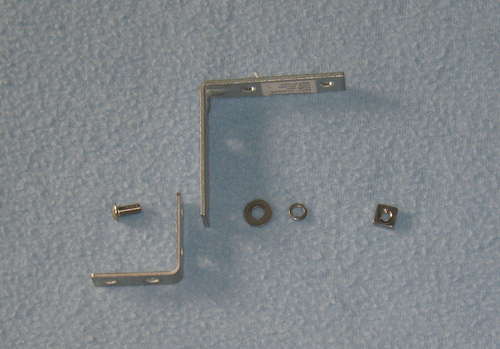
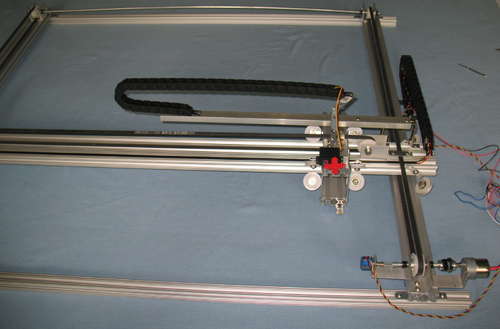
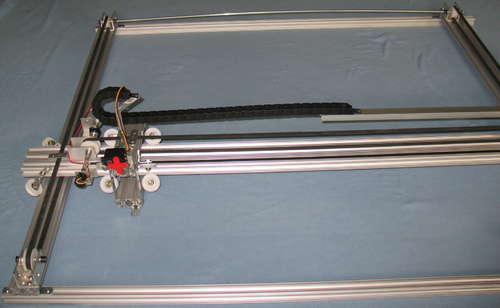
For the previous project, we just suspended the cables from above, but this time, we decided to try a cable carrier for the project, and it works great. As with the rest of the project, the T-Slot made it super easy. We used about 18" of flexible cable carrier with the end connectors. The one end connector just attaches to the Y axis with a single #10 screw, and for the lower piece, we used a couple 3" plates we had lying around - two #10 screws to hold them to the X axis frame, and one #10 screw to fasten the cable carrier to the one plate. The second plate is just there to provide a bit more support. Done!For the Y axis, the carriage surrounds the whole axis so we can't mount the cable carrier on the middle of the T-Slot. So, we built a couple stands from angle brackets, and cut a piece of U shaped aluminum - 3/4" wide, and extended that out to the middle of the Y Axis from above. We drilled a couple of holes for the stands and one for the end of the cable carrier. We made one more stand on the Y Axis Carriage for the end of the cable carrier. See the pictures for the details.
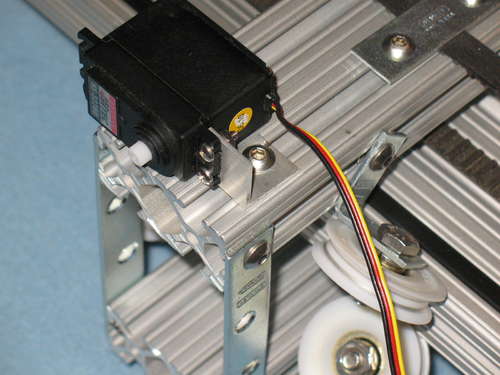
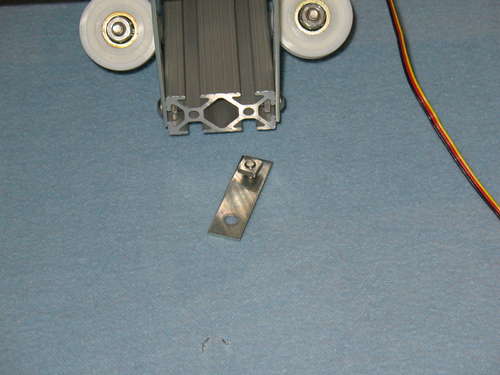
For our project, we are using a hobby servo to move the end effector (a stick) up and down. To mount the servo, we made a small bracket with holes for the servo and the t-slot. To keep the servo control rob in line, we used an extra plate.
The cable carrier we used was the McMaster-Carr # 55835K432 and corresponding mounting brackets 55835K3. You have to buy it in 3 foot lengths, which cost about $20, so for the X and Y axis, the cost is roughly $50 - we couldn't quite get by with only 3 feet. We bought two sets of the end clips.
We used a piece of T-Slot plastic trim to hold the wires in one of the t-slot channels in the Y axis. That was from McMaster too, and came in a huge shipping tube.


Intro | 1 | 2 | 3 | 4 | 5 | 6 | 7 | 8 | 9