

TeleToyland Sandbox How It Works: Step 2
Step 2: X AxisT-Slot Frame
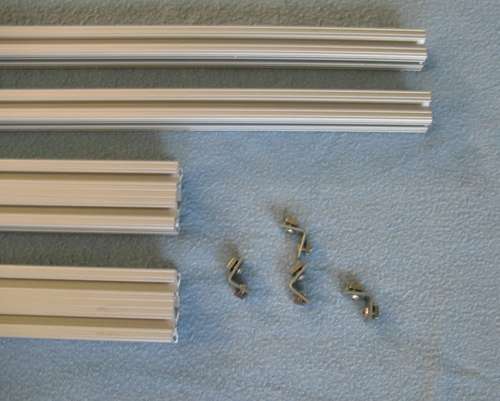
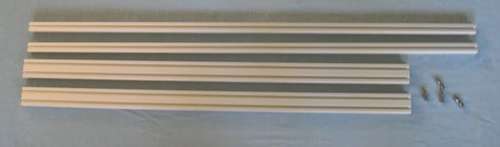
There are many ways to lay out the frame, and we tried a lot of variations. They all worked OK, and require varying degrees of machining. We did have issues with adjusting the ball bearing approaches, since the tolerances were pretty close to make it really glide. There are some nice products out there that hold the bearings if you look around. In the end, we came upon the nylon screen door rollers at the hardware store. By mounting them diagonally on the edge of the T-Slot, they actually worked pretty well, and the price is great. Note that they do not spin well out of the box - some lubricant made a huge difference - something like the Teflon based Triflow, which works well, and attracts less dirt than WD-40.For the X axis, we decided to simply place the 1x2 T-Slot extrusions on top of the 1x1 ones. We did try having them on the same level with corner brackets, but having them on top of each other made the slots more accessible for the timing belt brackets, and there was more clearance below. We cut 7 inches off the ends of the 1x2 extrusions to be used for the Y Axis Carriage in the next step.
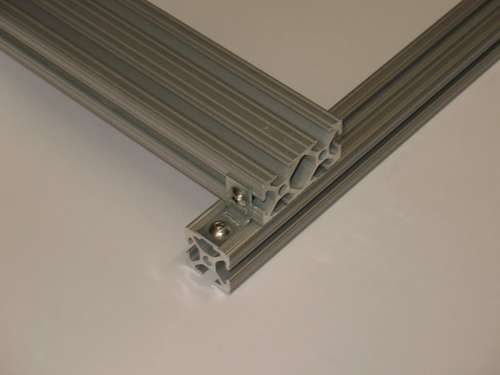
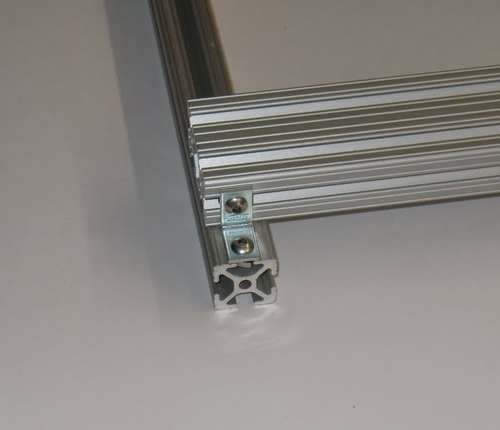
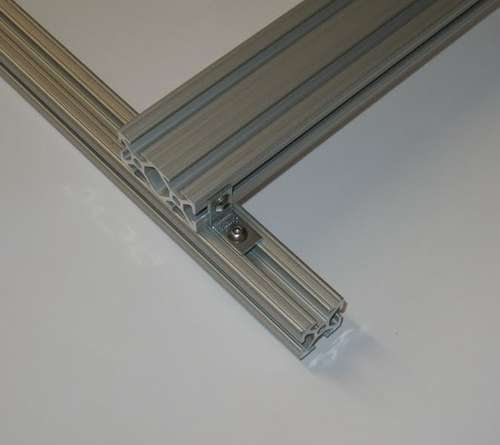
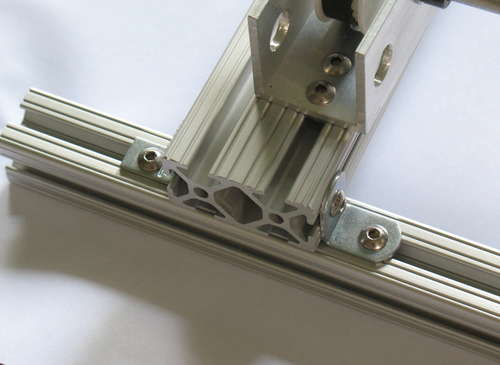
To connect them, we used 3/4" L brackets with the 3/8" long #10-32 screws and square nuts - on one side, the bracket lines up with the edge (see picture), and on the other side, the 1x2 is inset by 2.5". This is not the absolute minimum width for the timing belts we used, but it's pretty close. You could also probably just go right to the edge on the other side too - we thought that might be useful for cable guides etc., and the Y Axis rollers do not stick out. You could also center it - 1.25" on each side. Whatever - that's the nice thing about the T-Slot - it's easy to move things!
One pro-tip for T-Slot - it's much easier to attach the nuts loosely to the screws on the brackets, then slide them in to the T-Slot rather than try to find the nut once it's slid on. This is especially true for the square nuts vs. the special T-Slot fasteners. For this entire project, only the three belt holders in step 6 (and one for the optional cable carrier) need to be screwed in after the nut is on the T-Slot. All the others can be pre-attached to save a lot of time and trouble.
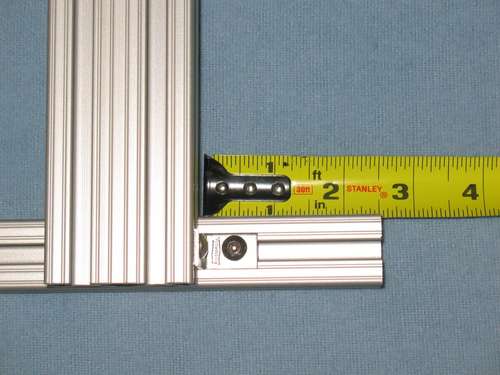
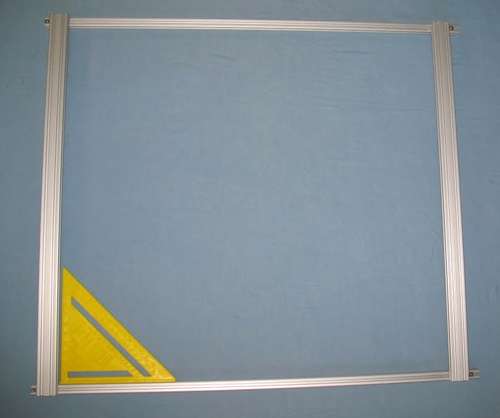
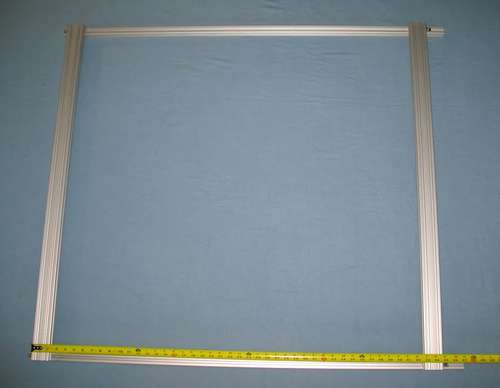
With the sides slightly tightened, we used a tape measure and t-square to make sure the 1x2 sides were the same distance apart (so the Y axis rollers stay on the 1x2 rails), and that the frame was square. At this point, there should be some brackets to hold it down to the base since it's not that rigid - more of the 3/4" brackets would work fine for holding it down to the workbench.
Some of the other variations on this layout we tried include using all 1x1 extrusions, aluminum bars, angles etc. We really didn't bring the price down enough to make it worthwhile in our opinion. The incremental cost for the 1x2 and 1x3 extrusions was just not that huge.

Intro | 1 | 2 | 3 | 4 | 5 | 6 | 7 | 8 | 9