

TeleToyland Sandbox How It Works: Step 2
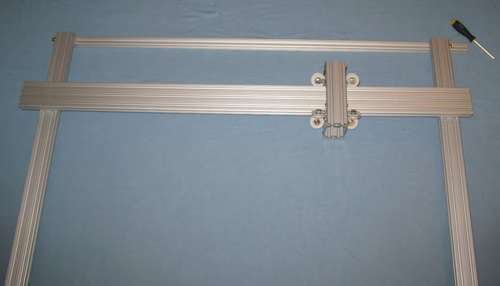
Step 3: Y Axis Carriage
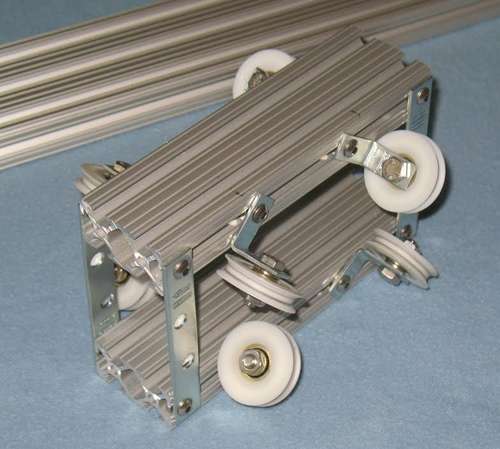
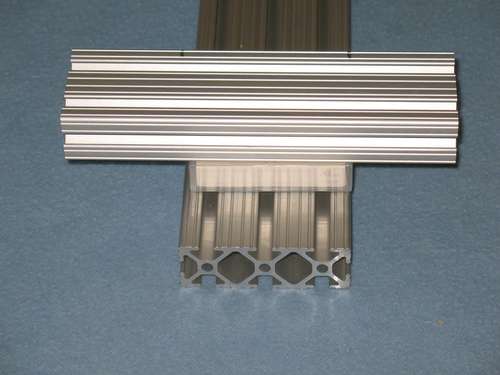
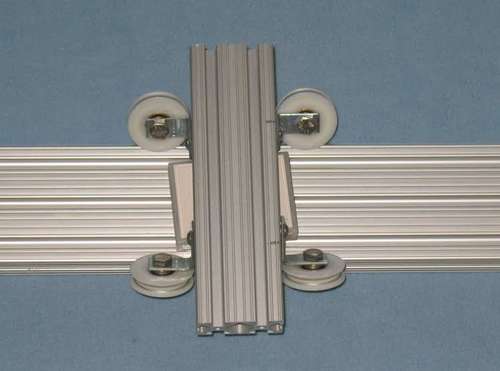
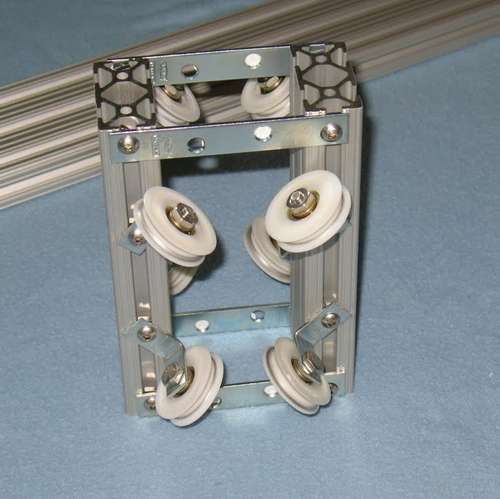
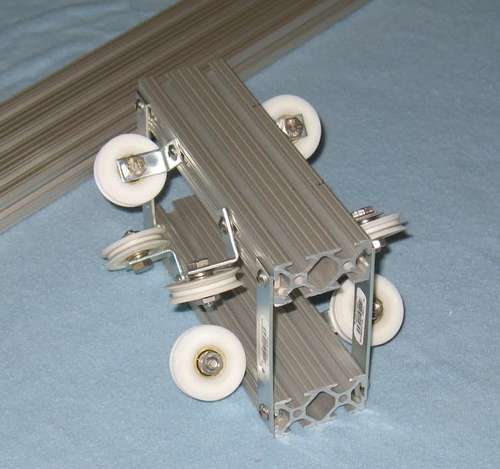
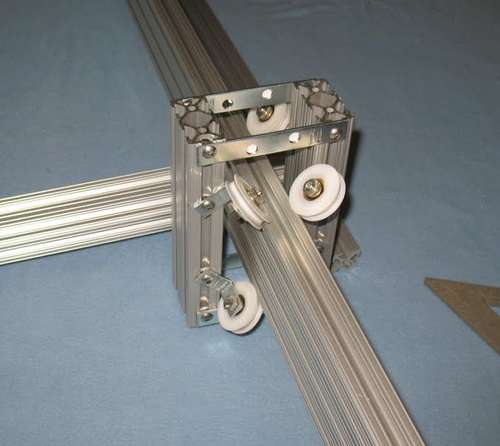
It's easiest to assemble the Y Axis carriage first, then mount the Y Axis to X Axis frame.For the Y Axis carriage, we used the two 7" 1x2 pieces we cut off earlier. The rollers are mounted on the 1" angle brackets, and it's best to slip them in the 1x2 pieces before using the 4" plates to hold them apart. Once those are set, the rollers can be tightened. It may help to use a small piece of wood or something to set the gap first. For us, the gap was about 5/8" and we found a mini-DV case that was just right. Then, it's a process of tightening them, and resetting/tightening them all until it's straight and looks good.
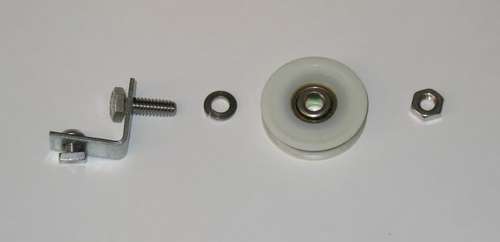
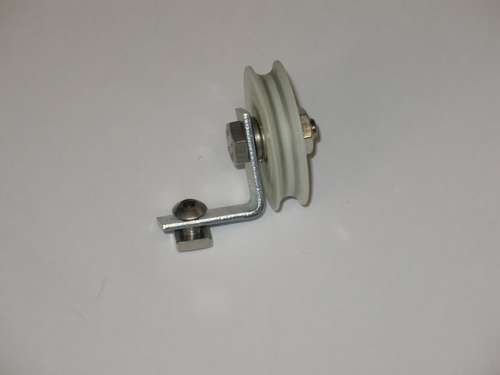
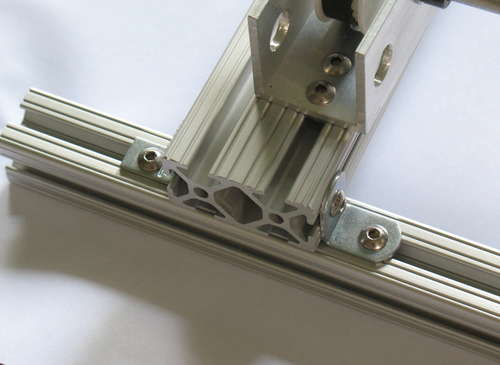
For the 1" angle brackets, the hole for the 1/4" bolt may need to be drilled out with a 1/4" bit.
We put four rollers on one piece of the 1x2, aligned them, then did the other side, then connected them together with the 4"plates.
Make sure the rollers' grooves fit nicely over the ends of the 1x2 T-Slot. Also, be sure that they all touch most of the time. We used the 1x3 and put the carriage on it's side etc. to get the rollers all just right - rotating the 1x3 bar and adjusting each roller one by one in several passes.
The Y axis timing belt needs to go in there. Either add it while you are making this part, or you can loosen a couple brackets and wheels (do them one at a time to keep the rest of the rollers tight) later to add it - not a big deal either way. Our pictures do not show it for simplicity, but maybe adding it and holding it together with a rubber band to keep it out of the way might help .


Intro | 1 | 2 | 3 | 4 | 5 | 6 | 7 | 8 | 9