TeleSkeleton How It Works
The Tele-Skeleton interface consists of two main components: The camera, and the control system.
The camera is a DLINK DCS-900 Internet Camera, which has it's own built in web-server hosting the images.
The control system starts on the web server, where PHP scripts manage the inputs, and then make a connection to a NetMedia SitePlayer Telnet which connects to the Internet and has an RS232 port for the servo control board. The servos are run from a Lynxmotion SSC-32 servo motor control board. This board is a nice one since it allows all the servos to be moved in synchronization to a timer, and we have the system set to do all moves in one second to avoid jerking the servos around too much.
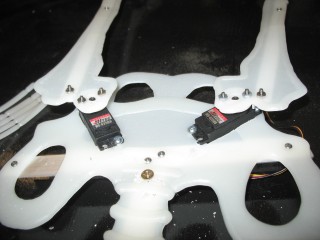
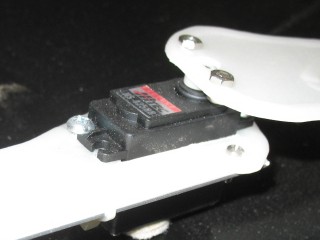
The servos are Hitec HS-425BB hobby servos from Servo City, but they are carried at many online stores and hobby shops. There isn't anything special about these servos - just a nice combination of features and price. Servo City has a lot of nice servo accessories for robotics.
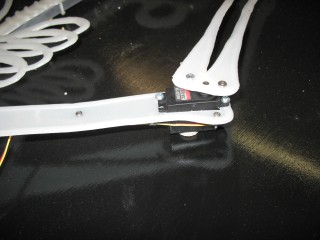
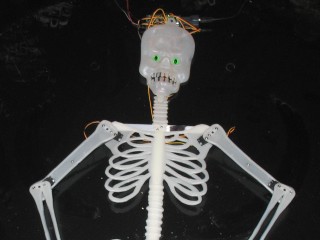
The skeleton is one that we had around from a past Halloween. It's about six feet tall, and is made of glow-in-the-dark plastic. For each of the eight motorized joints, we cut out a rectangle for the servo, and mounted the servo horn on the matching part. Once the servos were mounted, we used a servo tester to set the middle position, and screwed the servo horns down.


Next, we used some servo extension cables to get all the servos connected to the servo control board. Once they were hooked up, we used the Lynxmotion control program to find the range limits for each servo. From those limits, the control software on the web server can convert the 1-9 joint values to the servo position:
for ($i=0; $i<8; $i++) {
$joint[$i] = (int)(($command[$i] - 1) * ($joint_max[$i] - $joint_min[$i]) / 8) + $joint_min[$i];
// do the servo command here
}


